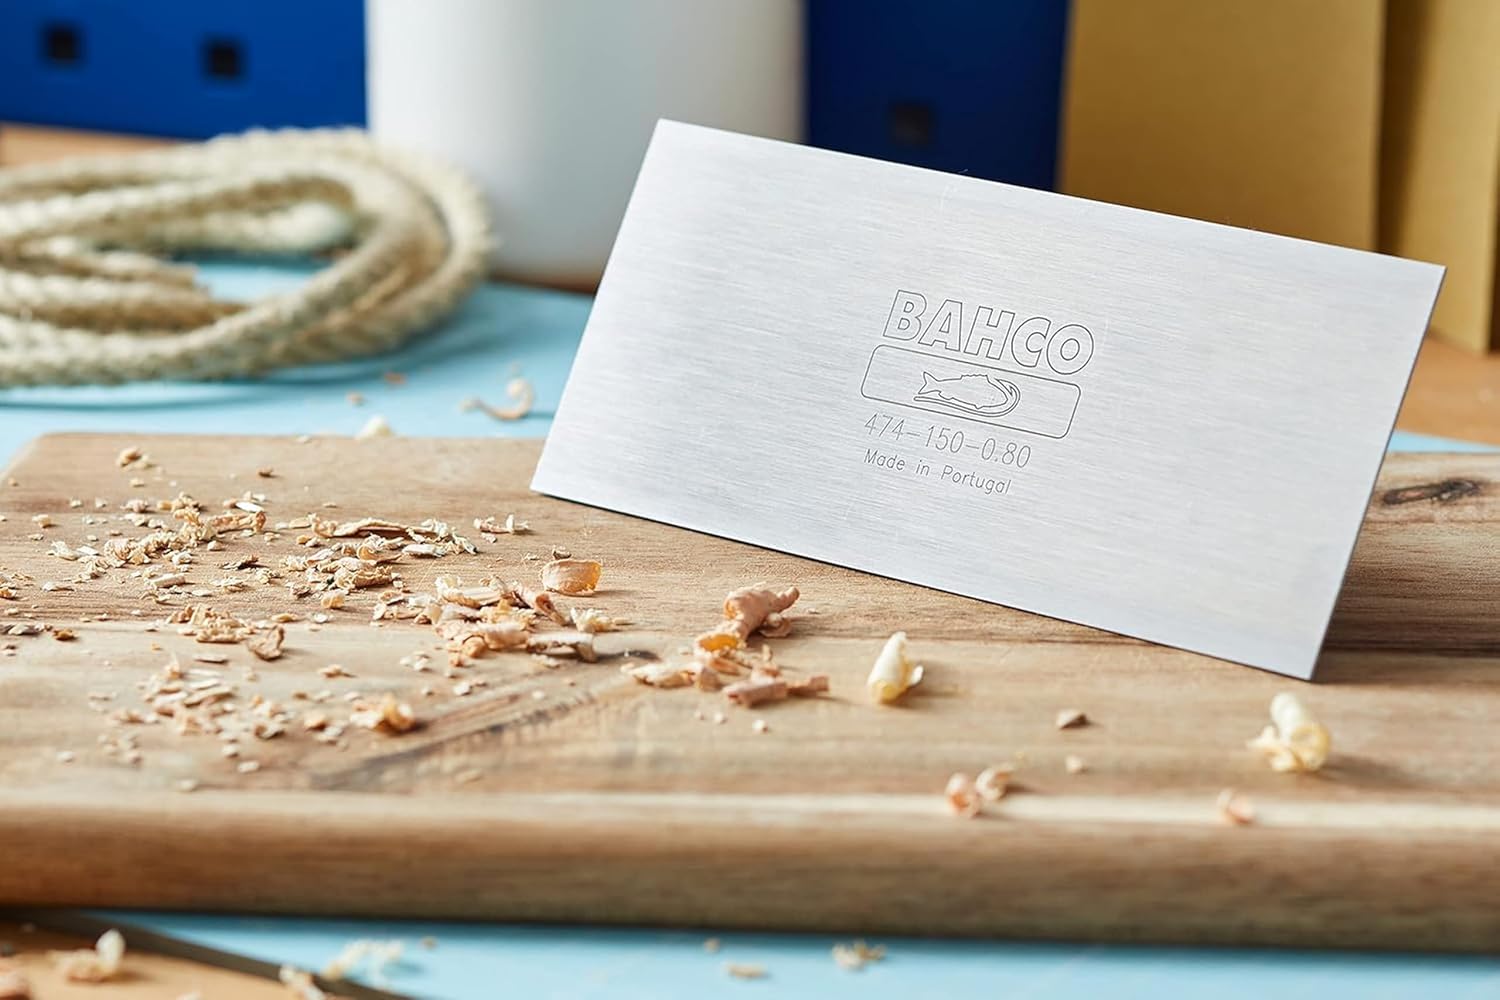
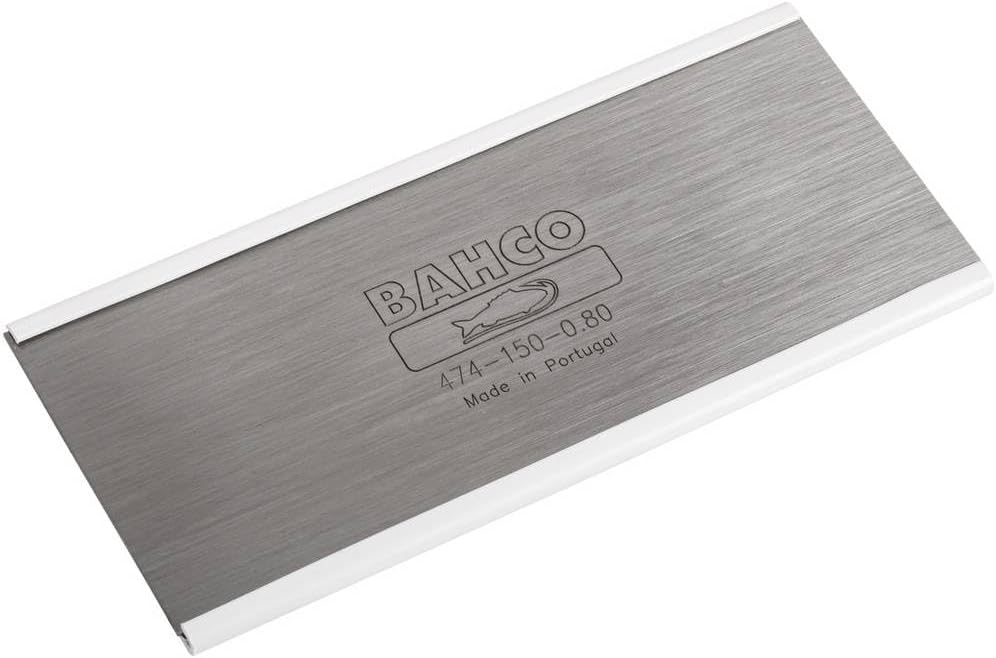
This card scraper removes just a small layer at a time
Sanding is slow and creates divots. Planes take huge layers off at once. This is a more subtle answer to hand planing, when you need to smooth irregularities, or refine glued joints.
Some honesty, here: you need to also get a burnisher, and master the craft of sharpening this to get a good hook (look up “sharpening a card scraper” videos on YouTube for this one). But, once you get the hang of it, you can get perfectly smooth joints, or remove irregularities without destroying your beautiful stock.
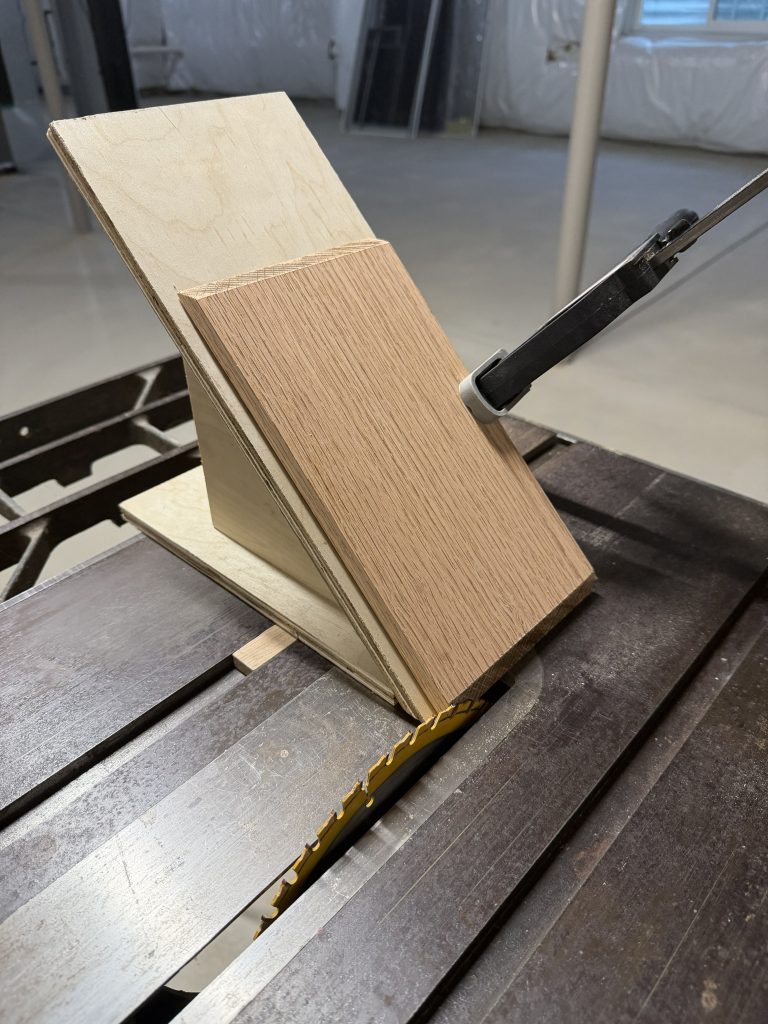
Make a simple jig to get 45° corners without tilting the saw
I don’t take credit for this one, but it is a genius idea. Making 45 degree corners with my table saw was always scary. Never sure if the blade is tilted precisely, and running the stock through was uncertain and prone to slips and uneven cuts.
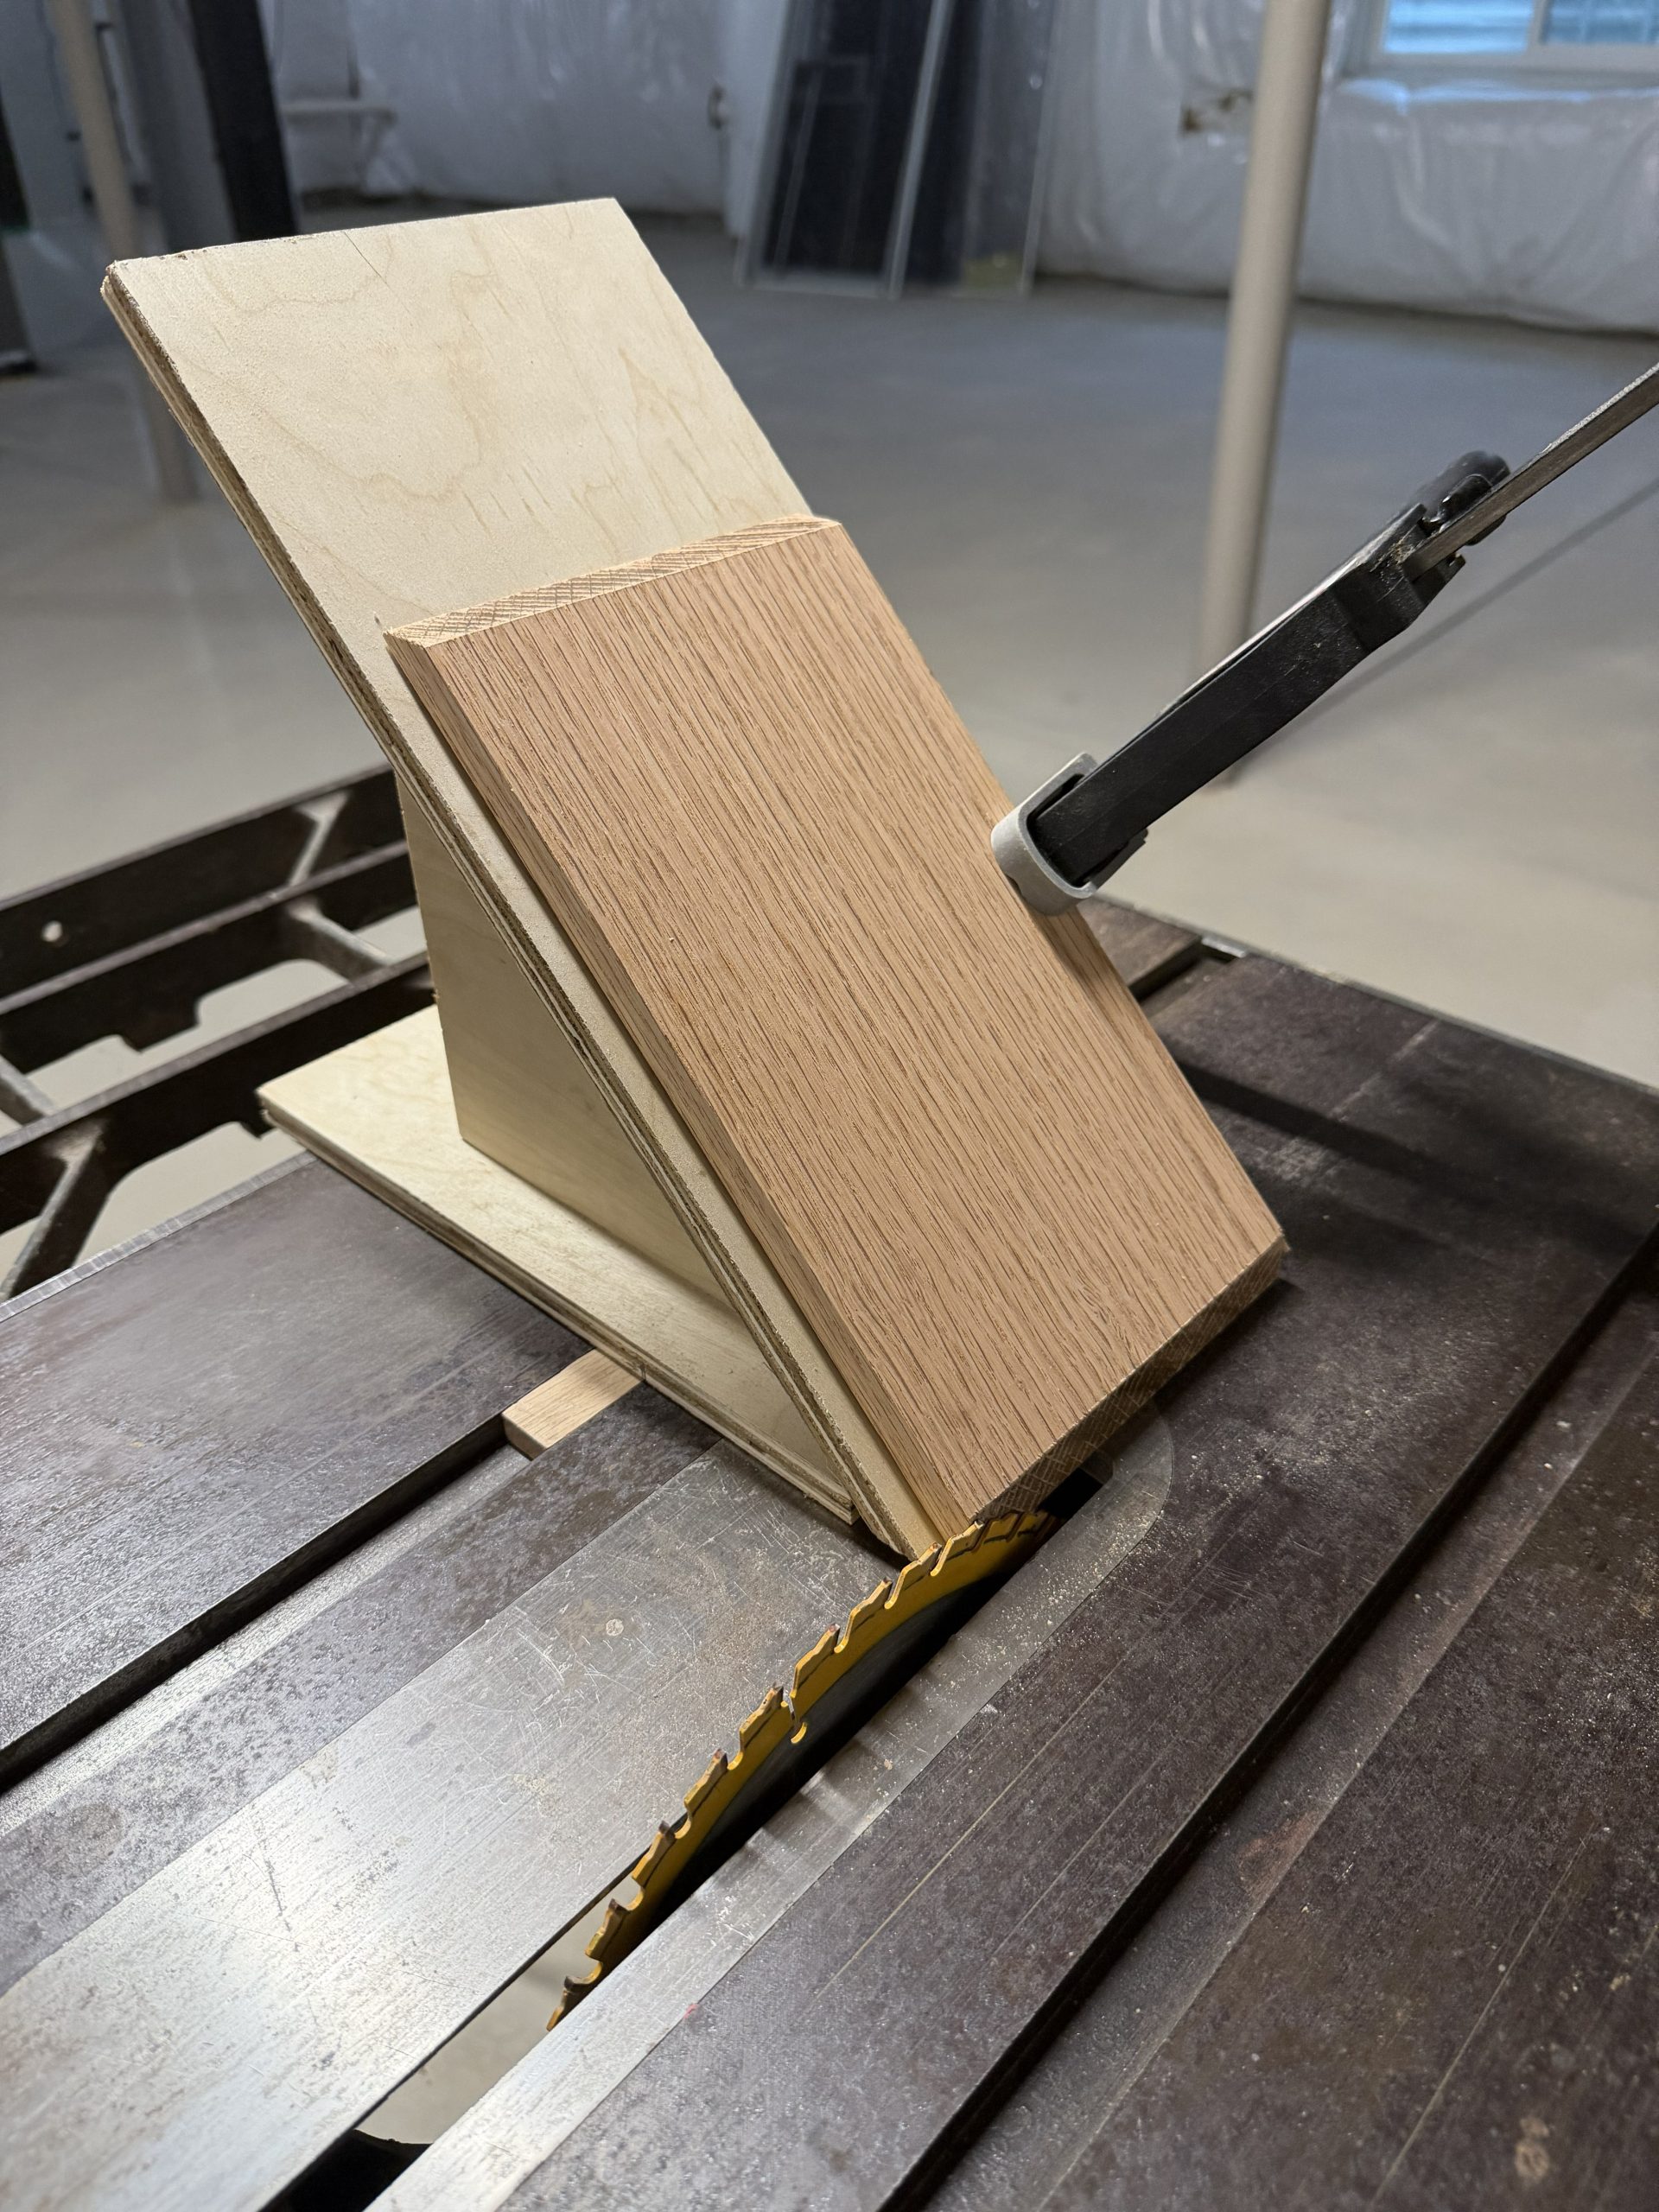
This simple jig solves that by holding the stock firmly and at the perfect angle every time.
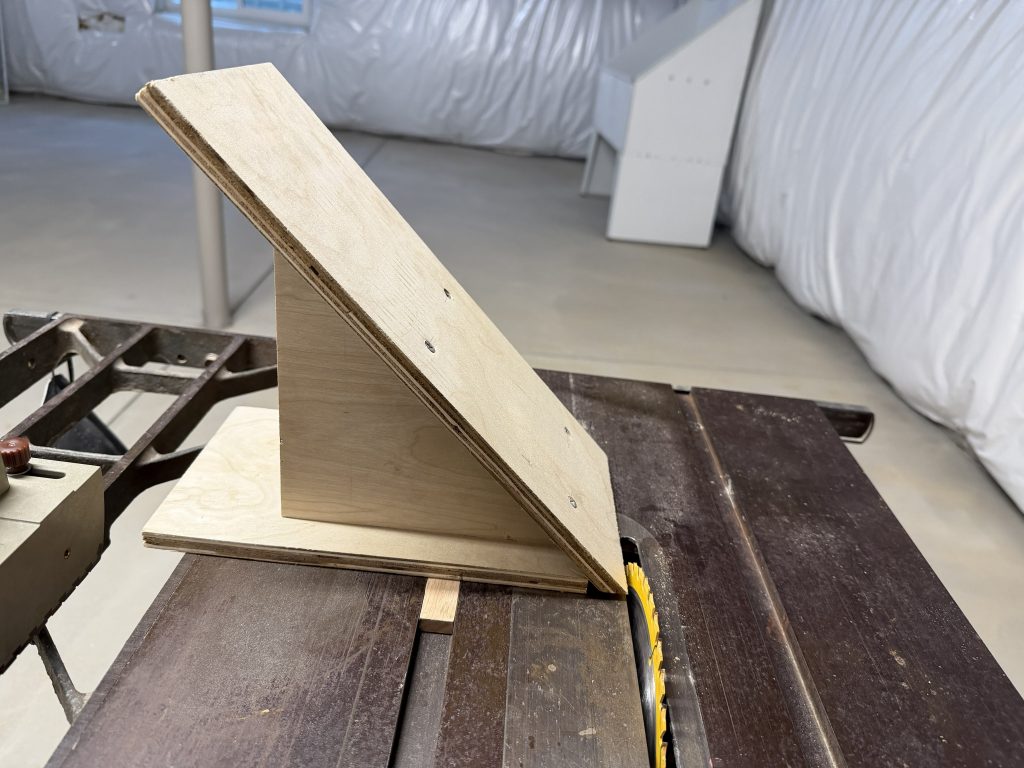
The larger pieces are just simple 1/2″ birch plywood. The secret sauce is in the two 45 degree wedges mounted between them. While I don’t have any plans for you, it comes down to this:
Cut your two flat pieces (about 7″ wide and then 10″ for the bottom and 12″ for the angled piece
Optionally, trim the bottom of the angled piece to 45 a rough degrees to match the surface of the saw table
Now, cut a square of wood into two 45 degree wedges
Attach the boards to the wedges as you see above
Now add your hardwood runner to fit your saw channel
Be very certain it is the right distance from the blade, and perfectly parallel to the point of the jig that faces the blade
To use it, place your stock on the incline, make SURE the bottom is flat on the table from end to end (if it is lifted at one corner, you won’t get a good angled cut) Then clamp it in place and you can make your cut. I actually use two clamps, but only showed one here, for clarity.
An ugly, but simple diagram of the parts. The rail for the table saw channel is omitted for clarity
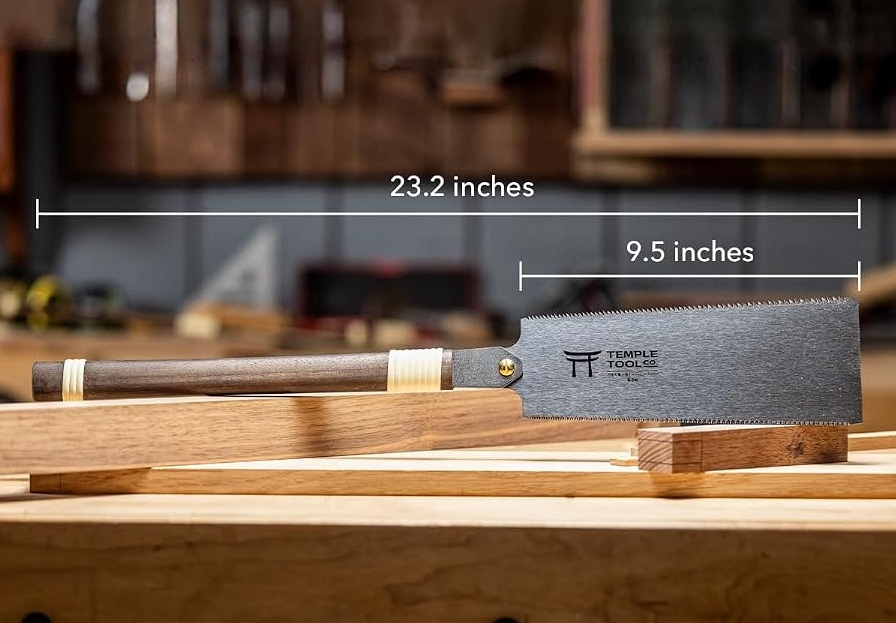
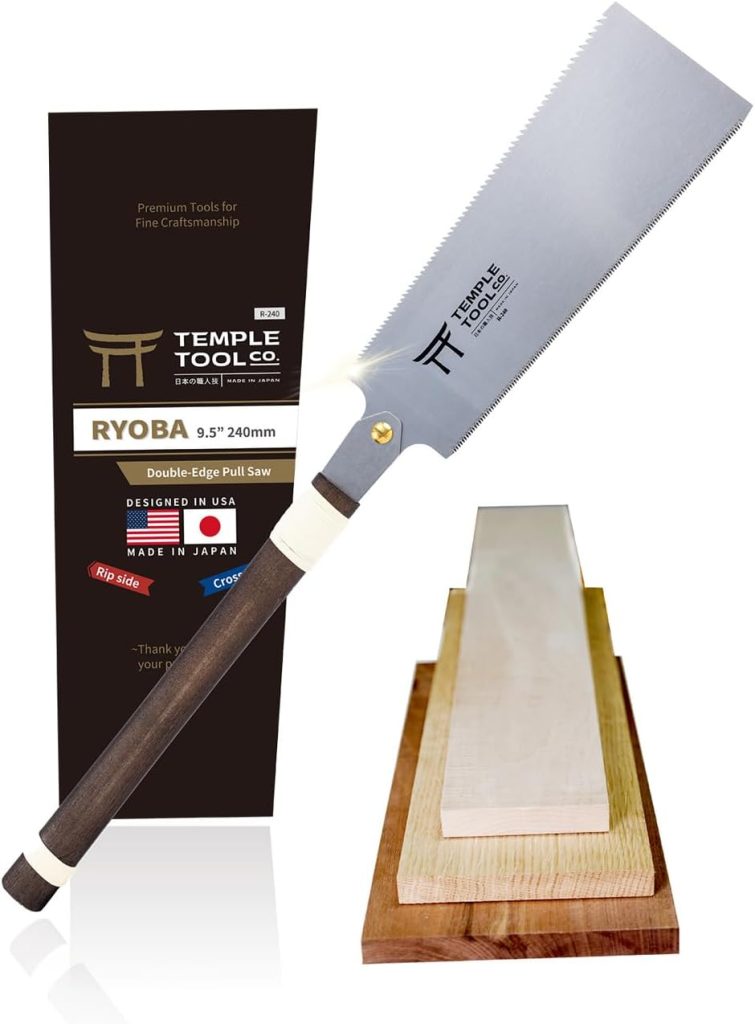
This razor sharp saw is ideal for small cuts with clean edges
I have a friend who does home renovation work, and he swears by Japanese pull saws. Yet, it is perfect for hobby woodworkers as well.
This is NOT for big cuts. Think: coping saw, but perfectly straight cuts, and tiny kerf. It has two sides, one for rip cuts and another for crosscutting the grain. If you have an end or dowel that is sticking out, just use this beauty to cut it flush. If you have to cut into your stock for a dado or lap joint, this does a perfect job.
Check out the video on the product page to see this in action.
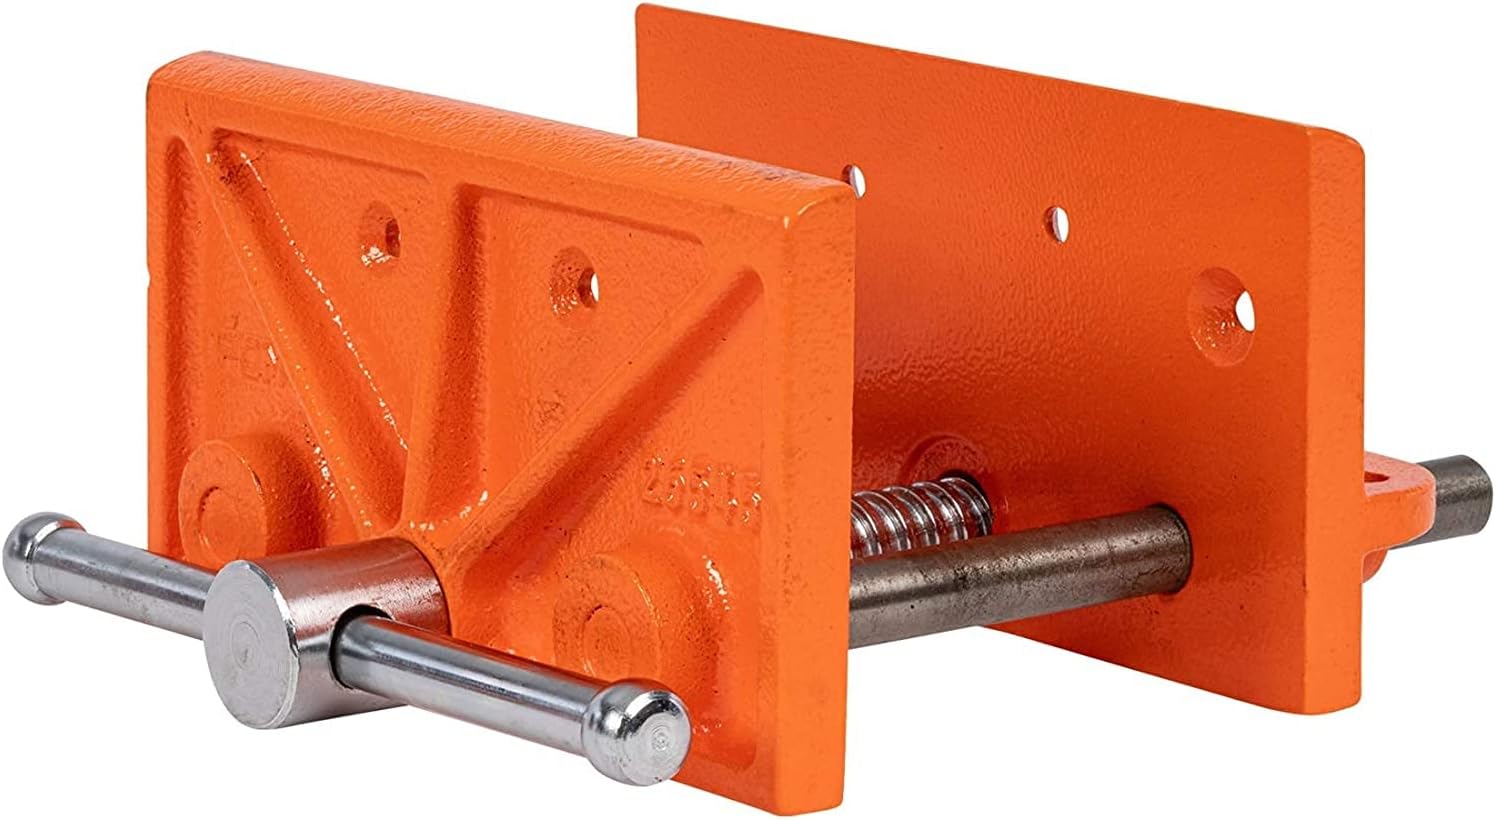
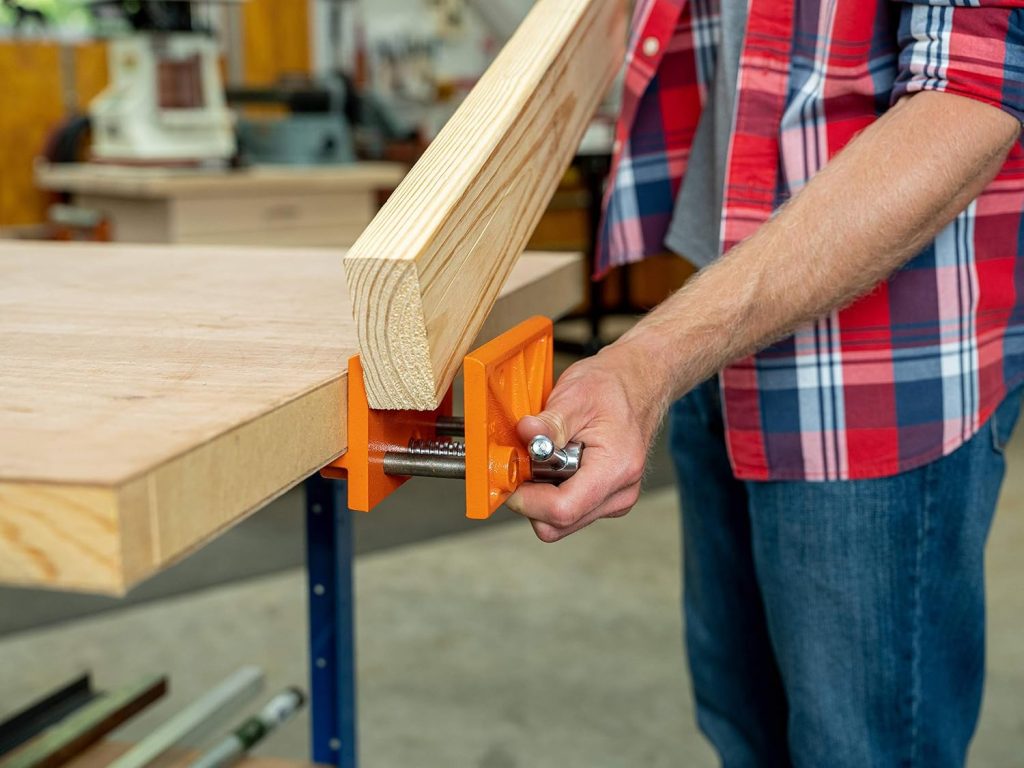
I’ve spent years just using a clamp to hold my work piece against the side rail of my bench. Tricky, crooked, and often it slips – leading to damage or swearing. One of the most basic things you need in a woodshop is a vise. But, they can get expensive. This is a great answer to that problem. A small, crazy affordable vise. They also have larger ones in the same price range.
A simple and affordable basic woodworkers vise
And it is all prepped with holes to add some hardwood pieces to the plates, for larger surface and gentler grip. I’m using some chunky 18″ pieces to accommodate my typical needs. This is my starting point, and I might eventually upgrade to a larger one, as my projects grow.